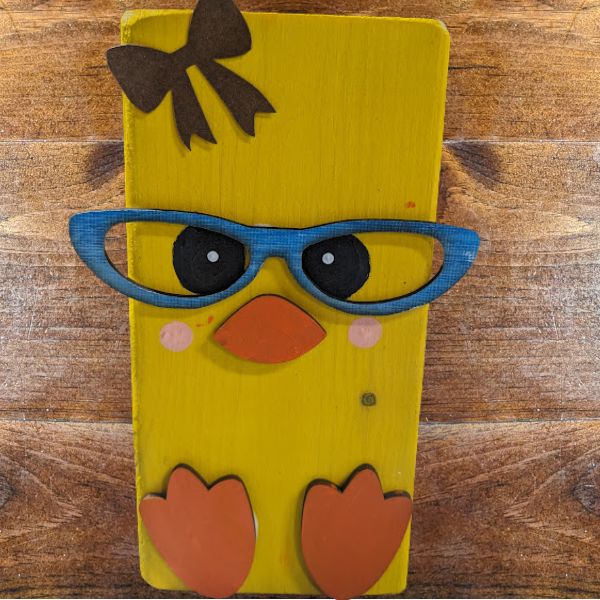
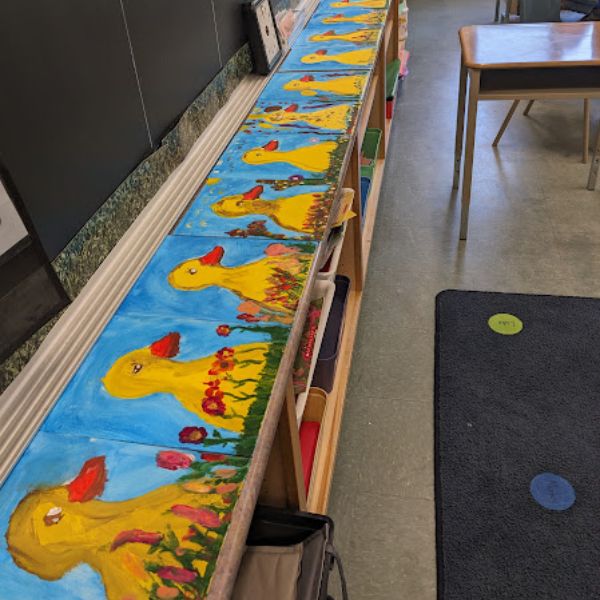
Grade 1/2 Class Visit “Baby Duck” Painting
Grade 1/2 Class Visit “Baby Duck” Painting Read More »
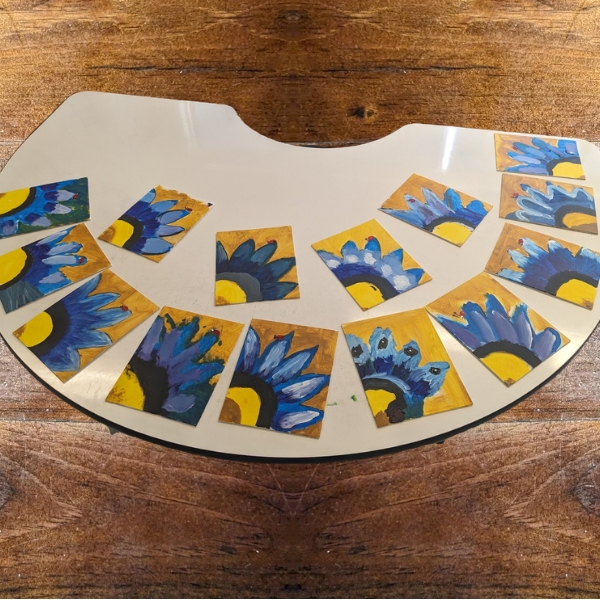
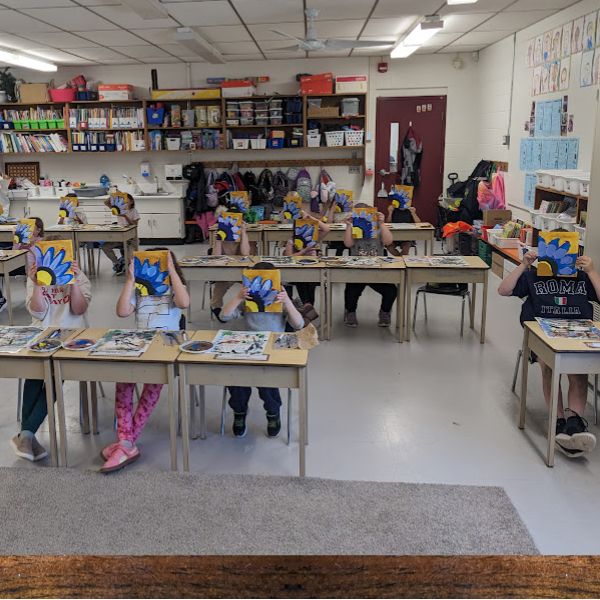
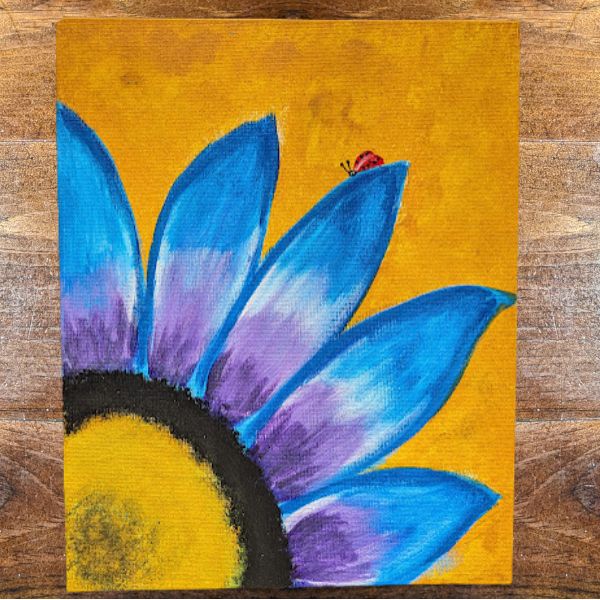
Grade 1/2 Teeny Tiny Ladybug Paintings – May 4. Such a fun class with these teeny tiny ladybug paintings!!! Love the creativity in every single one!
Grade 1/2 Class Visit “Teeny Tiny Ladybug” Painting Read More »